Category
Popular
-
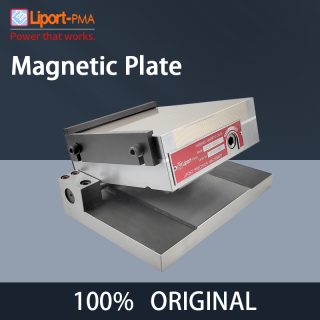
 Magnetic Sine Plate Machinist
$ 650 – $ 780
-
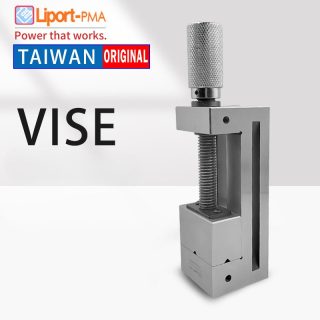
 Premium Precision Grinding Vise/CNC Vise
$ 111 – $ 402
-
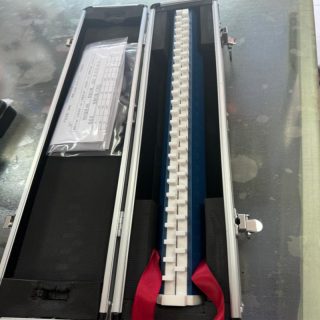
 Customized Ceramic Step Gauge
-
 Magnetic Base Stand Holder
$ 55 – $ 118
-
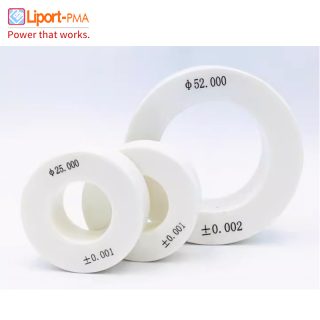
 Ceramic Ring Gauge (Imperial/Metric)
Tag Clouds
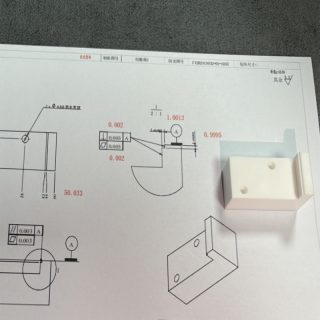
Ceramic Calibration Block Customization Case
We provide customized gauge blocks and calibration blocks of various shapes and non-standard types, with accuracy of up to 0.002mm (2 μ m), 0.001mm (1 μ m), and 0.0005mm (0.5 μ m).
If there’s anything needed, please contact us.
The above display cases do not involve trade secrets. If you have confidentiality requirements, we can sign a confidentiality agreement. At that time, we will not display your product information to anyone.
Ceramic Calibration Block Customization Case
I. Project Background
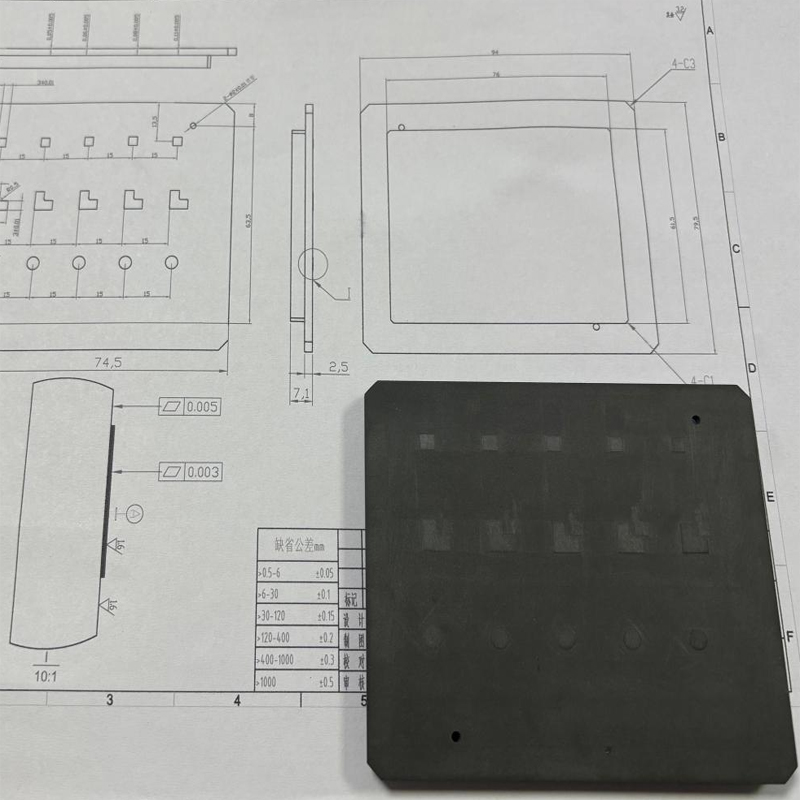
To fulfill the needs of a client in the precision measurement field, our company undertook a customized production task for ceramic calibration blocks. The client had extremely high requirements for the precision and flatness of the customized parts, especially for the dimensional accuracy of the measurement bosses. To ensure product quality met the client’s demands, we meticulously planned the production process and quality control measures.
II. Client Requirements
- Measurement Boss Dimensional Requirements:
- Length and width accuracy: ±0.01mm
- Height accuracy: ±0.001mm
- Requirements for Other Areas:
- Flatness: 0.003mm
- Surface roughness: 1.6
III. Production Plan
- Material Selection:
- High-precision, high-hardness ceramic materials were selected to ensure the stability and wear resistance of the customized parts.
- Processing Equipment:
- Advanced CNC machines and grinding equipment were introduced to ensure processing accuracy and efficiency.
- High-precision measurement tools were used for real-time monitoring and adjustment during the processing.
- Process Flow:
- Material cutting: The ceramic material was cut into the preliminary shape according to design requirements.
- Rough processing: Initial processing was carried out using CNC machines to remove excess material.
- Fine processing: High-precision grinding techniques were employed to finely process the measurement bosses and other areas, ensuring dimensional accuracy and flatness.
- Surface treatment: The customized parts underwent polishing to meet surface roughness requirements.
- Quality Control:
- Strict quality inspections were conducted at each stage of the processing to ensure compliance with design requirements.
- After processing, a 3D measuring instrument was used to comprehensively detect the overall condition of the customized parts, ensuring that dimensional accuracy, flatness, surface roughness, and other indicators met the client’s requirements.
IV. Inspection Results
After careful processing and rigorous inspection, we successfully completed the customized production task for the ceramic calibration blocks. Ten points on the measurement bosses were selected for error detection, and the results showed that the error of all points was less than 0.001mm, fully meeting the client’s height accuracy requirements. At the same time, other indicators of the customized parts also met the client’s requirements, including length and width accuracy, flatness, and surface roughness.
V. Client Feedback
The client was extremely satisfied with our customized parts, believing that the precision and quality met their expectations. They expressed their intention to continue cooperating with us and looked forward to us providing them with more high-quality products and services in the future.
VI. Conclusion
This customized production task for ceramic calibration blocks was a successful cooperation case. With advanced production equipment, superb craftsmanship, and a strict quality control system, we successfully met the client’s demand for high-precision, high-quality products. This not only demonstrated our technical expertise and production capabilities but also earned us the client’s trust and recognition. In the future, we will continue to strive to improve product quality and service levels, providing clients with more superior and efficient customized services.
Related products
-
Customized Gauge Blocks/Customized ceramic fixtures
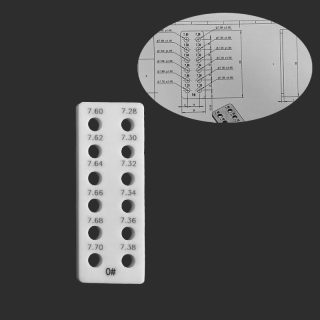
Read moreWe provide customized gauge blocks and calibration blocks of various shapes and non-standard types, with accuracy of up to 0.002mm (2 μ m), 0.001mm (1 μ m), and 0.0005mm (0.5 μ m).
If there’s anything needed, please contact us.The above display cases do not involve trade secrets. If you have confidentiality requirements, we can sign a confidentiality agreement. At that time, we will not display your product information to anyone
-
Customized Ceramic Step Gauge Block
Read moreWe provide customized gauge blocks and calibration blocks of various shapes and non-standard types, with accuracy of up to 0.002mm (2 μ m), 0.001mm (1 μ m), and 0.0005mm (0.5 μ m).
If there’s anything needed, please contact us.The above display cases do not involve trade secrets. If you have confidentiality requirements, we can sign a confidentiality agreement. At that time, we will not display your product information to anyone
-
Customized High precision special-shaped fixture
Read moreWe provide customized High precision special-shaped fixture, with accuracy of up to 0.002mm (2 μ m), 0.001mm (1 μ m), and 0.0005mm (0.5 μ m).
If there’s anything needed, please contact us.The above display cases do not involve trade secrets. If you have confidentiality requirements, we can sign a confidentiality agreement. At that time, we will not display your product information to anyone
-
Customized Ceramic Step Gauge
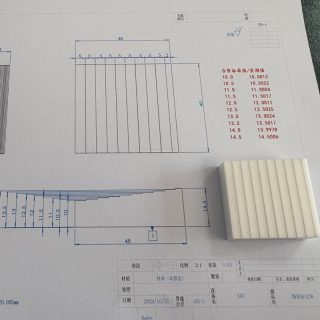
Read more1. We can customize step gauges of different sizes and accuracies according to the drawings you provide or your needs.
2、We can provide metric and imperial step gauges.
3. Customization level: 0/1/2 levelThe above display cases do not involve trade secrets. If you have confidentiality requirements, we can sign a confidentiality agreement. At that time, we will not display your product information to anyone.
If needed, please contact our customer service
Best offers
Original Guaranteed
100% Safe
Secure Shopping
24x7 Support
Online 24 hours
Best Offers
Grab Now
Free Shiping
On all order over
Know Us

Our company founded in 2012, we specialize in the development and production of precision tools and measuring instruments under the brand name Liport-PMA. We provide customized solutions for electronics, machinery, medical, aerospace, and other industries, backed by extensive product experience and a skilled technical team. We look forward to collaborating with you for a brighter future.
Read More
